How to Train for Hiking: A 12-Week Plan That Works
- Why most hiking training is backward
- The three pillars of hiking fitness
- The 12-week training plan (broken down)
- Strength training for hikers: what actually transfers
- How to prepare for a hilly hike when your town is flat
- Common mistakes I see every season (and made myself)
- Frequently asked questions
I used to think hiking fitness just happened by hiking. Then I tried a 12-mile, 3,500-foot gain trail in the Pyrenees with zero prep. My quads locked. My descent was a comedy of errors. Now, after a decade of trail time, I know better. Learning how to train for hiking isn't about logging endless flat miles. It's about specific strength, smart progression, and a bit of humility.
This isn't a generic plan pulled from a fitness app. It's what I've used and refined over countless outings, including a week-long trek across the Julian Alps where every downhill hurt. Let's fix that.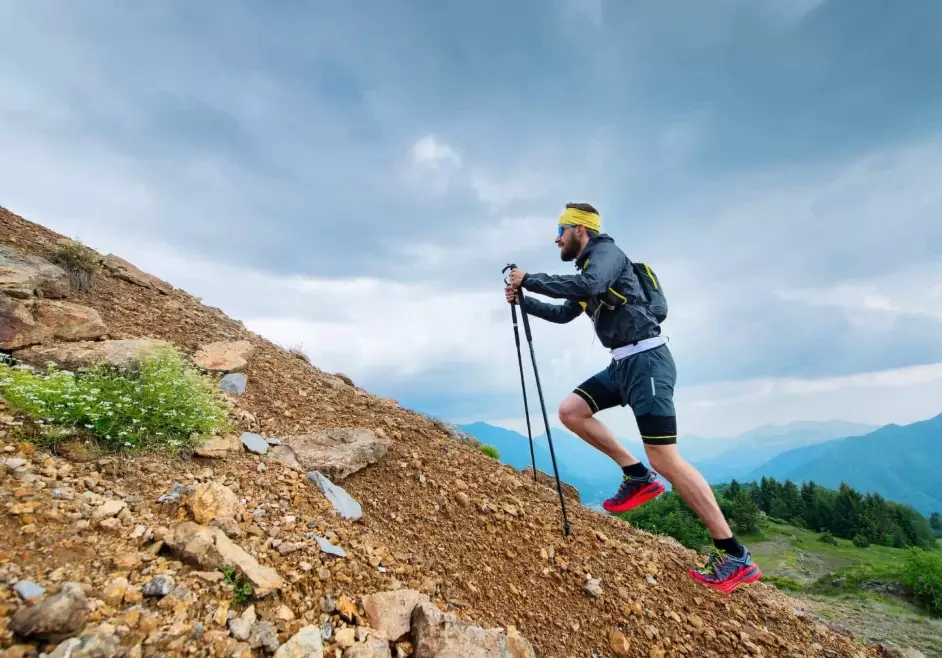
Why most hiking training is backward
People train for the uphill, but the real killer is the downhill. Eccentric muscle contractions (the lengthening of muscle under load) cause the most soreness and injury risk. And very few programs address it.
I learned this the hard way after a 14-mile descent from Mount Whitney. My legs were toast for days. A physical therapist later told me I should have been doing controlled step-downs and eccentric squats. That’s the non-consensus bit: your quadriceps need targeted downhill training, not just uphill cardio.
I’ve seen hikers power up a mountain only to hobble down like penguins. If you skip eccentric training, you’re borrowing trouble.
The three pillars of hiking fitness
| Pillar | What it is | Example exercises | Weekly target |
|---|---|---|---|
| Cardio endurance | Steady-state heart and lung capacity | Hiking, cycling, stair climber, brisk walking | 2–3 sessions, 30–60 min |
| Strength & stability | Muscle power and joint stability | Step-downs, lunges, single-leg deadlifts, core work | 2 sessions, 20–30 min |
| Pack & terrain practice | Specific adaptation to load & uneven ground | Weighted pack walks, trail time on rocky paths | 1–2 sessions, 45+ min |
That third pillar is where most people falter. They train in the gym but never wear their actual backpack. I’m guilty of this too—you feel silly walking around your neighborhood with a loaded pack. Get over it. It pays off.
The 12-week training plan (broken down)
I structure this in three blocks of four weeks. Each block increases intensity or volume slightly. Don’t skip the deload week—your body needs it.
Weeks 1–4: Base building
Focus on consistency. Your goal is to move five days a week, but only two are “hard” days.
- Mon & Thu: Strength foundation (bodyweight step-downs, glute bridges, planks).
- Tue & Sat: Cardio—flat walk or easy hike, 30–45 min. Keep it conversational.
- Wed: Pack walk with 10 lbs for 30 min.
- Fri: Rest or gentle stretching.
- Sun: Fun hike—hilly if possible, but keep it short.
Weeks 5–8: Build load and hills
Now add weight and incline. I like to find a local stadium or parking garage for stair repeats.
- Mon & Thu: Increase strength intensity: add dumbbells to step-downs, do walking lunges, single-leg Romanian deadlifts.
- Tue & Sat: Hill repeats or stair climbing for 30–40 min.
- Wed: Pack weight up to 20 lbs, walk 45 min on varied terrain.
- Sun: Longer hike (2–3 hours) with moderate elevation gain (500–1,000 ft).
Weeks 9–12: Peak and taper
This is where you simulate your goal hike. If you have a specific trip, mimic its distance and elevation as closely as possible.
- Mon & Thu: Maintain strength, but reduce volume slightly (fewer sets).
- Tue: Interval cardio (e.g., 1 min hard, 2 min easy on stairs).
- Sat: Big hike—gradually build to 70–80% of your target distance and elevation.
- Week 12: Taper. Cut volume by 40% in the last 10 days. Trust me, you won’t lose fitness.
I’ve used this exact skeleton for a 20-mile Grand Canyon rim-to-rim and a 3-day hut trip in the Dolomites. The pack weight in block 2 is crucial—I once skipped it and paid with shoulder agony.
Strength training for hikers: what actually transfers
Forget bicep curls. Hiking is a posterior chain and single-leg game. The exercises that matter most are step-downs, Bulgarian split squats, and loaded carries.
I do a simple circuit twice a week: step-downs off a 12-inch box (3 sets of 8 per leg), single-leg deadlifts with a kettlebell (3 sets of 6 per leg), and farmer’s carries with 25% of my body weight (3 sets of 40 yards). That’s it. The rest is hiking-specific.
A physical therapist I met on the trail once told me: “If you can’t control your knee on a step-down, you can’t control it on a rocky descent.” That stuck. Now I never skip them.
Want a deeper dive? The American College of Sports Medicine publishes solid resistance training guidelines that underpin this approach.
How to prepare for a hilly hike when your town is flat
This is a real problem for city dwellers. I lived in the Netherlands for two years—flat as a pancake. Here’s what worked:
- Stadium stairs: Find a local high school stadium. Run or walk up every step. Do 10–15 repeats.
- Parking garages: They’re everywhere. Walk up the ramps and take stairs down. Repeat for 30 minutes.
- Treadmill incline: Set it to 10–12% and walk for 30 minutes with your pack. Boring but effective.
- Bleacher step-downs: Do your eccentric training on a bleacher step. Perfect height.
I once trained for a Pyrenees trip entirely on a parking garage in Rotterdam. The descent simulation via step-downs saved me.
Common mistakes I see every season (and made myself)
One big one: training only with bodyweight. You need progressive overload. Add weight to your pack and your strength exercises. Another: ignoring ankle mobility. Tight ankles force your knees to compensate on uneven ground. Do ankle circles and calf stretches daily.
And don’t get me started on the “just hike more” advice. Sure, hiking is specific, but if you only hike on weekends, you’re not building the resilience for a multi-day trip. The 12-week plan fills the gaps.
Oh—and one non-consensus tip: train your grip strength. I know it sounds odd, but scrambling and pole usage tax your forearms. Farmer’s carries and dead hangs help. I learned this after a via ferrata where my hands cramped.
Frequently asked questions
Facts checked against guidelines from the American College of Sports Medicine and my own trail logs.
Comments
Share your experience