Layering System for Hiking: Avoid Sweat & Stay Warm
What's in this guide (skip ahead)
I learned the hard way on a soggy October hike in the White Mountains. I wore a cotton t-shirt under a fleece and a rain jacket. Within an hour, I was soaked from sweat, shivering at the summit, and miserable. That's when I finally understood the layering system for hiking isn't just about piling on clothes—it's about managing moisture. Since then, I've tested dozens of combinations across three continents, and I can tell you this: the hikers who get cold are almost always the ones who got wet first.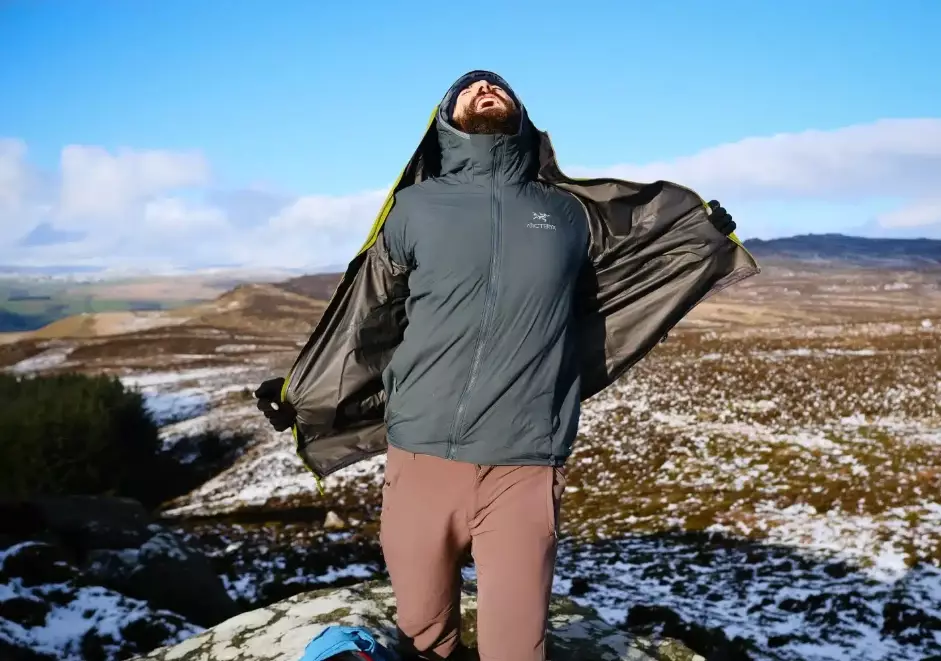
What is a layering system for hiking?
A layering system for hiking is a three-part clothing strategy—base layer, midlayer, and shell—that lets you adapt to changing weather and exertion levels. The goal is to move sweat away from your skin, trap warmth when you stop, and block wind and rain when needed. Get it right, and you stay comfortable from trailhead to summit. Get it wrong, and you risk hypothermia even on mild days.
The mistake most hikers make (and it's not what you think)
Most advice focuses on buying expensive gear. But the real killer is starting too warm. I see it constantly: hikers leave the parking lot wearing their midlayer and shell, then sweat through everything within 20 minutes. The fix? Start cold. If you're not slightly chilly in the first five minutes, you're overdressed. Strip down before you start climbing. Your body will generate heat fast.
Another non-consensus tip: avoid waterproof membranes in your base layer. They trap sweat. I don't care what the marketing says—breathable fabrics still have limits. Stick to merino wool or synthetic knit that actively wicks.
The three layers explained (with real examples)
Base layer: your moisture manager
This is the layer touching your skin. Its job is to pull sweat away so you don't feel clammy. Merino wool is my go-to for multi-day trips because it resists odor. For high-output day hikes, a lightweight synthetic (like polyester) dries faster and costs less. Avoid cotton at all costs—it holds water like a sponge.
Concrete example: I've used a 150-weight merino crew from Smartwool on a 3-day backpacking trip in the Rockies. It stayed reasonably fresh and dried quickly after a quick rinse. For summer day hikes, a Patagonia Capilene Cool Daily shirt works well and doesn't break the bank.
Midlayer: your warmth regulator
This traps heat. You'll add or remove it depending on how hard you're working. Fleece is cheap and breathes well, but it's bulky. Synthetic insulation (like PrimaLoft) packs smaller and stays warm when damp. Down is warmest for its weight but useless if it gets wet—only bring it if you're confident your shell will keep it dry.
Personal note: On a windy ridge in Patagonia, my Patagonia R1 fleece was perfect—breathable enough that I didn't overheat on the climb, warm enough when the wind picked up. I wouldn't trust it in steady rain, though.
Shell: your weather shield
This blocks wind and rain. You want something that breathes enough to let vapor escape. Pit zips are non-negotiable for me—they let you dump heat fast without taking off the pack. Gore-Tex is reliable but pricey; cheaper alternatives like Columbia's Omni-Tech work for moderate conditions.
Example: I used a Marmot PreCip jacket on a wet weekend in the Smokies. It kept me dry, but I had to open the pit zips on climbs. Without them, I'd have been soaked from the inside.
| Layer | Function | Best material | Example product | When to wear |
|---|---|---|---|---|
| Base | Moisture wicking | Merino wool or synthetic | Smartwool 150 crew | Always, next to skin |
| Mid | Insulation | Fleece or synthetic fill | Patagonia R1 fleece | When chilly or on breaks |
| Shell | Wind/rain protection | Waterproof breathable membrane | Marmot PreCip | Windy or wet conditions |
How to layer for different conditions (step-by-step)
Here's a system I've refined over years. Adjust based on your own sweat rate and the forecast.
Cold and dry (below 40°F): Start with a midweight base layer (200-weight merino). Add a fleece midlayer. Keep a lightweight synthetic puffy in your pack for stops. Shell stays in the pack unless wind picks up.
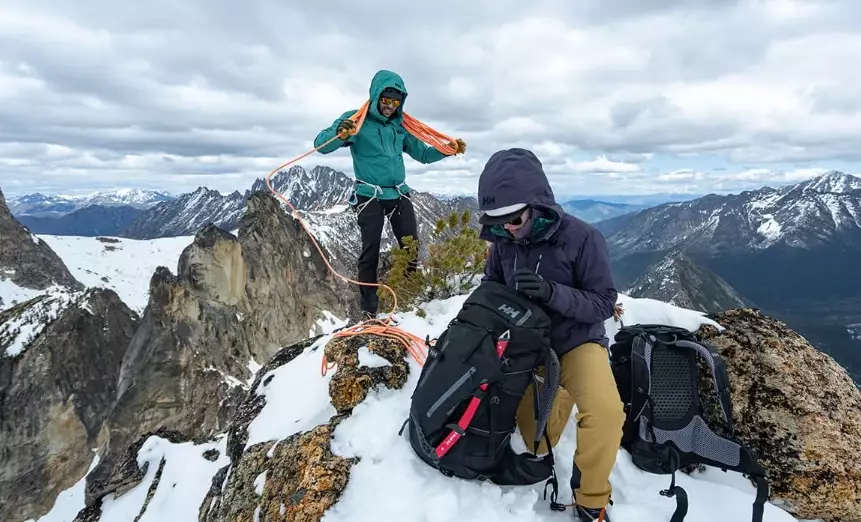
Cold and wet (35–45°F, rain): Lightweight merino base, fleece midlayer, waterproof shell with pit zips. Start with the shell unzipped until you feel the first raindrops, then zip up but open pit zips on climbs. Keep a dry base layer in a waterproof stuff sack for emergencies.
Cool and windy (45–60°F): Lightweight synthetic base, no midlayer at start. Shell blocks wind. Add a fleece only when you stop for lunch. This is where most people overdress—resist the urge.
Warm and sunny (above 60°F): Just a lightweight synthetic t-shirt. Carry a wind shirt (like a Patagonia Houdini) for exposed ridges. No insulation needed.
FAQ: layering system for hiking
After years of trial and error, I've settled on a simple rule: start cold, stay dry, and always have a dry base layer waiting in your pack. That's the layering system for hiking that actually works.
Fact-checked against product specs and my own field notes.
Comments
Share your experience