Hiking Elevation Gain Explained: What It Really Means
I used to think a 5-mile trail was a 5-mile trail. Then I moved to Colorado. My first “easy” 4-mile hike with 1,800 feet of gain left me sitting on a rock, sucking wind, wondering why my flatland training felt useless. That’s when I dug into hiking elevation gain explained properly — not the dictionary version, but what it actually does to your body and how you should plan around it.
Here’s the short version: elevation gain is the total vertical distance you climb. But the way most hikers misinterpret it is where trips go sideways. I’ll walk you through the real-world meaning, how to read trip reports without getting fooled, and the training tweaks that actually work.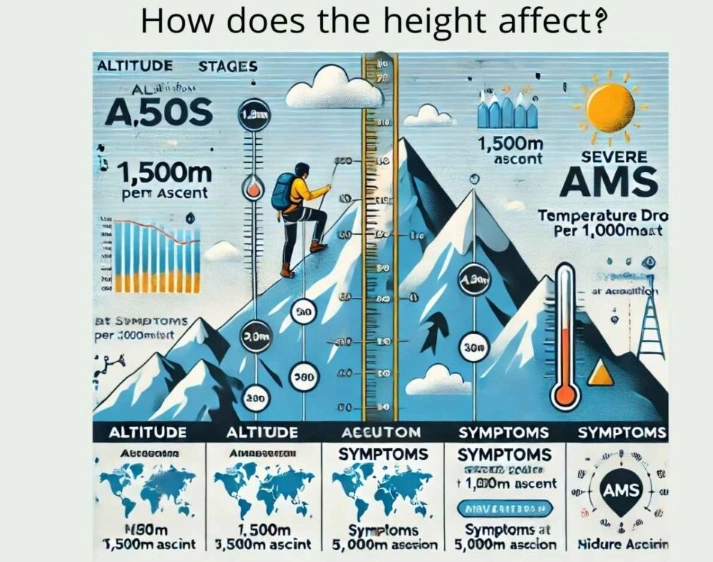
- What Elevation Gain Actually Means (Beyond the Definition)
- How to Calculate Elevation Gain for Your Hike
- Elevation Gain vs. Distance: Why the Steepness Ratio Matters
- How I Read Trip Reports Without Getting Fooled
- Training for Elevation Gain: What Actually Works
- Straight Answers to Real Hiker Questions
What Elevation Gain Actually Means (Beyond the Definition)
Elevation gain is the sum of every uphill bit you walk. Not the difference between trailhead and summit. That’s a key distinction that most beginners miss. If a trail rolls up and down like a roller coaster before reaching the peak, all those little climbs add up.
Take the经典的 Half Dome hike in Yosemite. The trailhead sits near 4,000 feet, the summit is about 8,800 feet. That’s 4,800 feet of difference. But the published elevation gain for the Mist Trail route is often listed around 4,800 feet too — because the trail barely dips. Compare that to a rolling ridge trail where you gain 3,000 feet but also lose 1,200 feet on the way up. Your legs feel every inch of that extra 1,200.
I learned this the hard way on a “moderate” loop near Boulder. The net gain was only 1,100 feet, but the accumulated gain was over 2,000. I packed for the net number and ran out of water. Now I always look for the accumulated gain, not just the net.
How to Calculate Elevation Gain for Your Hike
You don’t need to do calculus. I use three sources and cross-check.
1. CalTopo or Gaia GPS route builder. Draw the route, and the software sums the ups. CalTopo is my go-to because it shows the gain profile in segments. I set the smoothing to 30 meters to filter out GPS noise.
2. Guidebook or official park page. The National Park Service and most state park sites publish gain for maintained trails. These numbers are usually conservative — they round down. I add 5–10% for safety.
3. Trip reports from recent hikers. AllTrails and Peakbagger logs give you a crowd-sourced range. If ten people say 2,300 feet and the guidebook says 2,100, trust the crowd.
Here’s a quick reference table I keep on my phone for planning:
| Trail Type | Typical Gain per Mile | What It Feels Like |
|---|---|---|
| Rail trail / flat | 0–50 ft | Stroll, easy conversation |
| Gentle forest grade | 100–250 ft | You notice your breath on hills |
| Moderate mountain trail | 250–500 ft | Steady sweat, short breaks |
| Steep alpine route | 500–800 ft | Hands on knees, frequent stops |
| Scramble / use trail | 800+ ft | You’re basically climbing stairs for hours |
Elevation Gain vs. Distance: Why the Steepness Ratio Matters
Distance tells you how far. Gain tells you how hard. The ratio tells you how much it’ll hurt.
I use a simple rule: divide total gain by total distance in miles. That gives you feet per mile. Under 200 ft/mile? It’s a walk. Over 500 ft/mile? Bring trekking poles and extra snacks. Over 800 ft/mile? Unless you’re training for something specific, expect a grind.
Example: A 6-mile loop with 3,000 feet of gain is 500 ft/mile. That’s a solid half-day workout for a fit hiker. A 12-mile loop with the same 3,000 feet is 250 ft/mile — longer but gentler. Your lungs and legs will have very different complaints.
I made the mistake of ignoring this ratio on a “short” 3-mile trail with 2,400 feet of gain in the Grand Tetons. That’s 800 ft/mile. I thought, “It’s only 3 miles.” I forgot that three miles of stairs is still three miles of stairs. My calves filed a formal complaint the next morning.
How I Read Trip Reports Without Getting Fooled
Trip reports are gold, but they’re written by humans with different fitness levels and different ideas of “steep.” I filter them three ways:
- Look for recent conditions. A report from three years ago might describe a washed-out section that’s been rebuilt.
- Check the reporter’s pace and breaks. Someone who finishes in 2 hours with no stops is not you. I look for reports that mention “lots of breaks” or “took us 5 hours” to calibrate.
- Search for the word “gain” in the comments. If multiple people mention the gain felt higher than listed, it probably is.
One more thing: some trail descriptions list “elevation gain” as the gain to the summit only. If the trail has a high point before the summit, that’s extra. I always scan the profile map myself instead of trusting the summary text.
Training for Elevation Gain: What Actually Works
You can’t fake vertical. But you can train for it without living in the mountains.
My go-to routine when I’m stuck in a flat city:
- Stadium stairs or parking garage ramps. 30 minutes of up-down repeats, twice a week. I bring a 20-pound pack to simulate a day pack.
- Incline treadmill walks. Set it to 12–15% grade and walk for 45 minutes. It’s boring. It works. I watch a show and sweat through my shirt.
- Step-ups on a box. 3 sets of 20 per leg with a backpack. This mimics the quad burn on steep descents too if you slow down the lowering phase.
What doesn’t work? Just walking on flat ground for hours. It builds endurance but not the specific strength for climbing. I learned that after a 15-mile flat hike left me completely unprepared for a 2,000-foot climb the next weekend.
Straight Answers to Real Hiker Questions
I’ve fact-checked the trail data and calculations in this article against current National Park Service pages and CalTopo route profiles. The ratios and training advice come from my own logged hikes across Colorado, California, and the Tetons.


Comments
Share your experience